
Step-by-Step Guide to Professional Window Tinting


Understanding Window Tinting
Window tinting is a popular choice for both car owners and homeowners who want to enhance privacy, reduce glare, and protect interiors from harmful UV rays. It's a professional process that requires precision and the right tools. In this guide, we'll walk you through the step-by-step process of professional window tinting.

Gathering the Necessary Tools
Before you begin, it's essential to have all the necessary tools on hand. Here’s a list of what you'll need:
- Tint film
- Squeegee
- Utility knife
- Heat gun
- Cleaning solution and microfiber cloth
Having these tools ready will ensure a smooth and efficient tinting process.
Preparing the Windows
Preparation is a crucial step in window tinting. Start by thoroughly cleaning the windows using a cleaning solution and a microfiber cloth. Ensure that all dirt, dust, and debris are removed to prevent bubbles under the tint film. Any imperfections can affect the final result, so take your time with this step.

Measuring and Cutting the Tint Film
Next, measure the windows accurately. Use these measurements to cut the tint film, allowing a little extra margin for trimming. It's better to have more material to work with than not enough. Carefully cut the film using a utility knife for precision.
Once cut, lay the film on a clean surface to avoid contamination. This step is crucial for ensuring the film fits perfectly on the windows.
Applying the Tint Film
Now, it's time to apply the tint film to the windows. Begin by peeling off the backing from the tint film. Spray a light mist of water on the window and the adhesive side of the film. This helps in repositioning the film during the application.
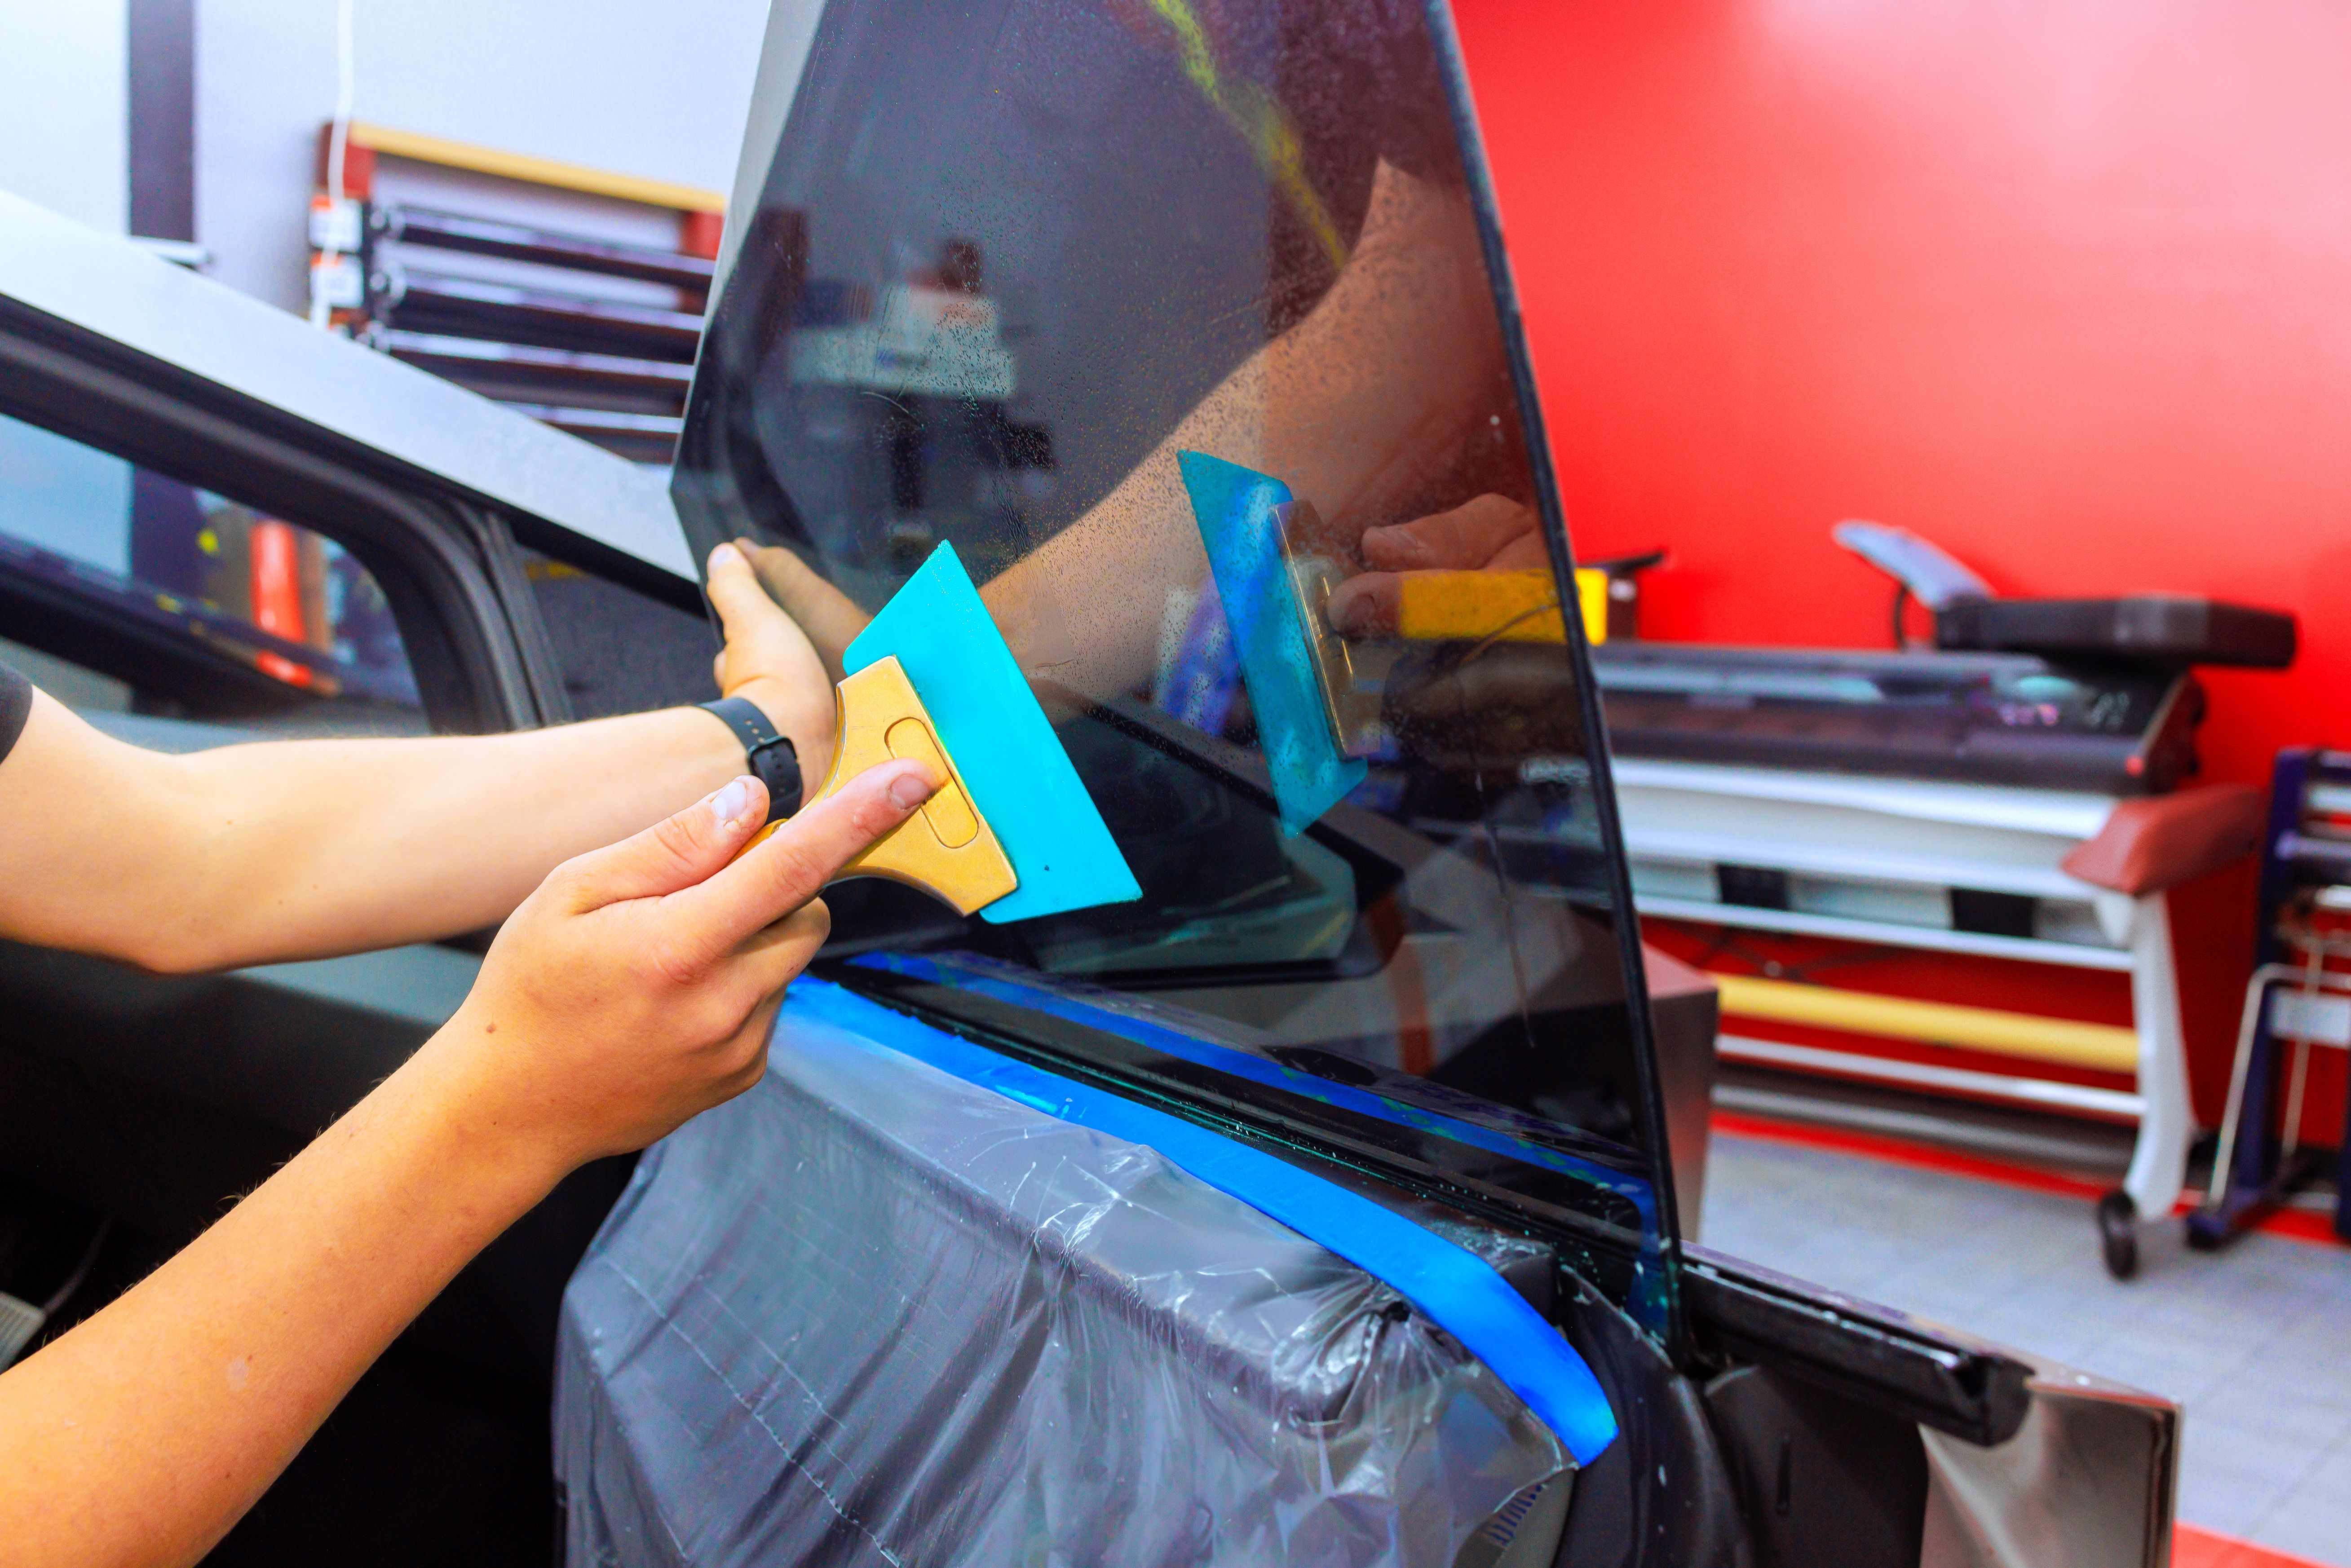
Carefully place the film on the window, starting from the top and working your way down. Use the squeegee to smooth out any bubbles or wrinkles. Work from the center towards the edges for the best results.
Finishing Touches
After applying the film, use a heat gun to shrink and set the film in place. This step ensures a tight fit and enhances the film's durability. Trim any excess film with a utility knife for a clean finish.
Allow the tint to cure for a few days before cleaning or rolling down the windows. This curing period ensures that the adhesive bonds well with the glass.
Conclusion
Professional window tinting can greatly enhance the aesthetics and functionality of your windows. By following this step-by-step guide, you can achieve a high-quality finish that offers privacy and protection. Remember, patience and precision are key to a successful tinting job.